Salt Never Sleeps: The Real Science Behind Camera Housing Corrosion (And How to Stay Ahead of It)
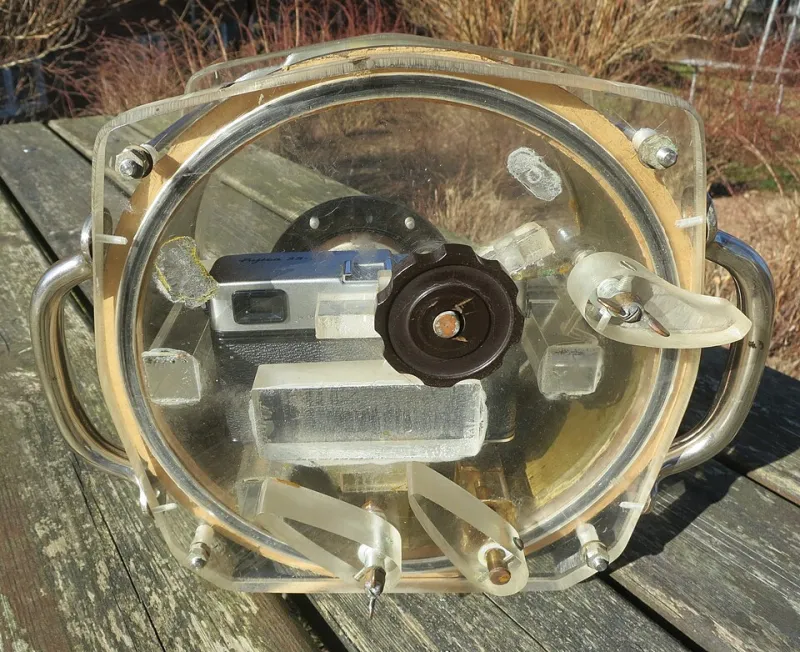
Photo: R. Henrik Nilsson, CC BY 4.0, via Wikimedia Commons
You rinsed it. You really did. You dunked that housing in the freshwater bucket at the end of the dive, swished it around for a few seconds, and called it good. So why, six months later, are you staring at a faint white crust around your port lock ring and a latch pin that no longer moves freely?
Because rinsing is the floor, not the ceiling. Saltwater corrosion is a chemistry problem, and a quick soak in a bucket doesn't reverse the electrochemical reactions that started the moment your rig hit the ocean. If you're serious about protecting a housing that might represent anywhere from $400 to $4,000 of your photography budget, it's worth understanding what's actually happening — and what actually stops it.
What Saltwater Is Actually Doing to Your Housing
Seawater isn't just water with salt in it. It's an electrolyte solution — a medium that conducts electricity between dissimilar metals. When two different metals sit in contact inside that solution (say, a stainless steel screw threaded into an aluminum housing body), you've created a galvanic cell. The less noble metal becomes the anode and starts sacrificing itself through oxidation. This is galvanic corrosion, and it's the primary villain in most housing failure stories.
Aluminum housings are particularly vulnerable here. Aluminum forms a natural oxide layer that offers some protection, but marine-grade saltwater is aggressive enough to penetrate it — especially at connection points, seams, and anywhere the anodizing has been scratched or worn. Polycarbonate and acrylic housings sidestep the galvanic issue but introduce their own problems: UV degradation over time and micro-cracking around port mounts that can trap salt crystals and accelerate mechanical wear.
Chloride ions are the real accelerant. They're small enough to penetrate oxide layers, they displace oxygen in protective films, and they catalyze pitting — localized corrosion that eats deep, narrow holes rather than spreading evenly. Pitting is dangerous precisely because it's hard to see until it's already serious.
The Weak Points You're Probably Ignoring
Most divers focus on the main O-ring because that's the seal they interact with every dive. Fair enough — a flooded housing is a catastrophic failure. But corrosion rarely announces itself there first. Here's where it actually starts:
Port lock rings and bayonet mounts. These see constant mechanical stress and are often made from a different alloy than the housing body. Every rotation of that lock ring in saltwater is an opportunity for galvanic activity.
Strobe arm ball joints and tray hardware. Stainless steel bolts threading into aluminum trays are textbook galvanic couples. The aluminum loses. Every time.
Sync cord connectors. The inner contacts on Nikonos-style connectors and even modern fiber optic ports collect salt residue that bridges pins and causes electrical gremlins long before you see visible corrosion.
Vent plugs and vacuum valves. These tiny components have fine threads, small O-rings, and lots of surface area relative to their size. They're easy to forget and among the first to seize.
Hinge pins on latches. Salt wicks into the hinge mechanism by capillary action. By the time a latch feels stiff, the pin may already be significantly corroded.
A Maintenance Routine That Actually Works
The freshwater rinse matters — but technique matters more than duration. Submerge the housing completely and actuate every button, dial, and lever while it's underwater. Salt hides inside button shafts and under control knobs; moving them while submerged lets fresh water flush the channels that a passive soak never reaches. Soak for a minimum of five minutes, not five seconds.
After rinsing, don't just dry the outside. Use a can of compressed air (the same stuff you'd use for a keyboard) to blast moisture out of crevices, port mount recesses, and around latch hardware. Follow that with a dry microfiber wipe, then let the housing air dry with the back door open before you store it.
Every three to five dives — or after any dive in particularly warm, shallow water (which accelerates corrosion chemistry) — apply a thin film of silicone grease not just to the main O-ring but to every threaded connection you can access. Silicone grease displaces water, reduces metal-to-metal contact, and keeps threads moving freely. It's not a corrosion inhibitor per se, but it dramatically reduces the opportunity for salt to sit in contact with metal.
For aluminum trays and arm hardware, a product like Boeshield T-9 or Corrosion X is worth adding to your kit. These penetrating lubricants are used widely in marine and aviation applications and offer genuine corrosion protection beyond what silicone grease provides. Apply them to bolt heads, hinge pins, and ball joint hardware after each rinse-and-dry cycle.
Real-World Lessons from Failed Housings
Talk to any underwater photography rental shop and they'll tell you the same story: the housings that come back trashed almost always show the same pattern. The main seal is fine. The O-ring groove is clean. But the port lock ring is seized, a latch pin has corroded through, or a sync cord connector has shorted out from salt bridging the contacts. The catastrophic failure mode is a flood; the slow failure mode is a housing that becomes unreliable, difficult to operate, or dimensionally compromised over time.
One common scenario involves photographers who travel to warm-water destinations — the Florida Keys, Hawaii, the Caribbean — and store their housing in a gear bag between dives without fully drying it. Warm temperatures accelerate every electrochemical reaction. A housing stored damp at 85°F corrodes measurably faster than one stored damp at 65°F. If you're on a liveaboard or a multi-day trip, prioritize drying over convenience every single time.
Longer-Term Housing Care
At the end of every season, or before any extended storage period, do a full teardown of your tray and arm system. Remove every bolt, inspect it, clean the threads with a toothbrush, and re-lubricate before reassembly. Inspect your port O-rings under good light and replace any that show flat spots, nicks, or surface crazing — these are far cheaper than a flooded camera body.
If your housing has a vacuum system, use it. Not just as a leak check, but as a routine step that confirms your seals are still performing. A housing that holds vacuum overnight before a dive trip is a housing you can trust.
And if you notice any white powdery residue (aluminum oxide) or reddish staining (iron oxide from steel hardware) starting to develop, address it immediately. A cotton swab with a mild vinegar solution can neutralize early-stage surface oxidation before it progresses. Catch it early and it's cosmetic. Ignore it and it becomes structural.
Salt doesn't take days off. But with the right habits, neither do you.