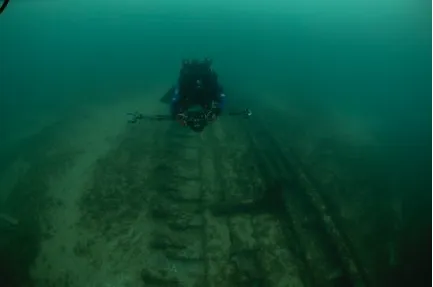
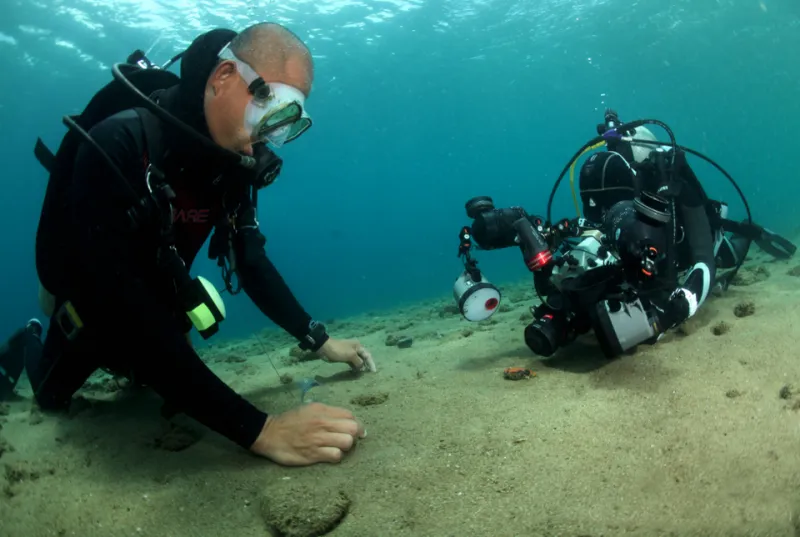
Same Ocean, Different World: A Region-by-Region Color Correction Guide for American Underwater Photographers
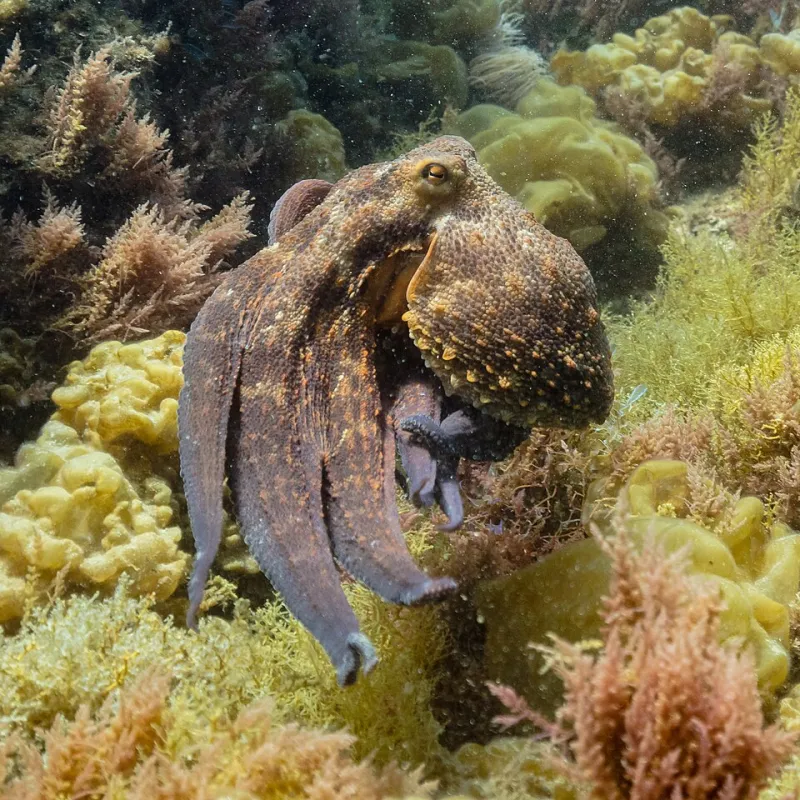
Photo: Diego Delso, CC BY-SA 4.0, via Wikimedia Commons
If you've ever returned from a dive trip to a new location, loaded up your shots in Lightroom, and applied the same color correction preset that worked beautifully on your last trip — only to watch your images turn into a muddy, oversaturated mess — you've already learned this lesson the hard way.
Water is not a universal medium. Its color-absorbing characteristics change based on what's dissolved and suspended in it, how deep it is, what time of year you're diving, and what's living in it. America's major dive destinations are dramatically different from one another in all of these respects. Treating them the same in post-processing is one of the most common technical mistakes underwater photographers make.
Let's break down three of the country's most distinct underwater environments — California's kelp forests, Florida's reef systems, and Hawaii's volcanic coastal waters — and talk about what each one actually demands from your editing workflow.
Why Water Color Isn't Just About Depth
Most photographers learn early that water absorbs red wavelengths first as you descend, followed by orange and yellow, leaving images dominated by blue and green tones. That's accurate as far as it goes. But depth is only one variable.
Particulate matter — sediment, phytoplankton, dissolved organic compounds — scatters and absorbs light in ways that vary dramatically by location. Clear oceanic water (like what you find in parts of Hawaii) absorbs light differently than the nutrient-rich, plankton-dense water off Monterey. Florida's coastal reef water sits somewhere in between, but carries its own particular mix of sediment and organic material that shifts its color signature.
The practical consequence: the same depth produces different color casts in different locations. A custom white balance or a RAW correction that works at 40 feet in the Florida Keys will not produce the same result at 40 feet in California. You need to read the water, not just the depth gauge.
California Kelp Forests: The Green Shift Problem
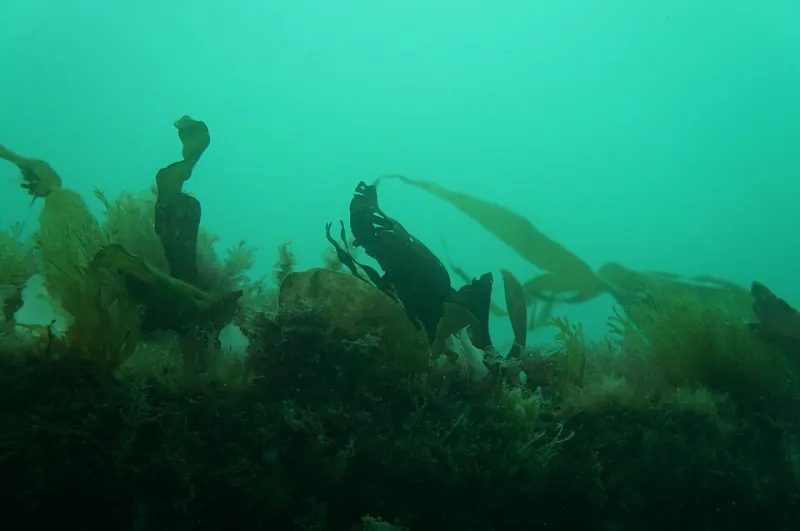
Diving in California — particularly along the central coast around Monterey, Carmel, or the Channel Islands — means working in cold, nutrient-rich water with high biological productivity. That productivity is part of what makes kelp forest ecosystems so visually spectacular. It's also what makes them a color correction headache.
California coastal water has a pronounced green-blue bias compared to tropical ocean environments. The high chlorophyll content from phytoplankton pushes the water toward green tones, especially at shallower depths where light is still abundant. As you go deeper under the kelp canopy, that green cast deepens and the overall exposure drops quickly — kelp canopies are remarkably effective at blocking surface light.
What this means for your editing:
Don't reach for a standard "remove blue cast" correction and call it done. In California kelp water, you're often fighting a green-blue combination. In Lightroom or Capture One, try pulling the Hue slider for greens and aquas toward blue slightly, rather than just adding warmth across the board. Adding red and magenta to compensate for the cool cast is appropriate, but be conservative — overdoing it produces skin tones and marine life colors that look artificial.
The other California challenge is contrast. Light filtering through the kelp canopy creates dramatic dappled patterns, but the overall dynamic range can be compressed in murky conditions. Working in RAW (which you should be doing anyway) gives you the latitude to recover shadows without blowing highlights in those bright water column patches.
For white balance, shooting a custom white balance card at the start of each dive — or using a product like a gray card or dedicated underwater white balance reference — will save you significant time in post. The light changes fast as you move through the kelp structure.
Florida's Reef Systems: Warm Water, Tricky Sediment
Florida diving is spread across meaningfully different environments — the clear offshore reefs of the Florida Keys, the murkier inshore patch reefs, and the spring-fed freshwater systems inland. For this guide, we'll focus on the Keys reef tract, which is what most visiting photographers are chasing.
Keys water is warmer and clearer than California, but it carries a sediment load from the shallow shelf environment that gives it a slightly milky, greenish-blue quality — different from the deep blue of truly oceanic water. At depths above 40 feet, there's enough ambient light for reasonably natural color with modest correction. Below that, the familiar red-and-orange loss kicks in, but the specific cast you're correcting is softer and more neutral than the aggressive green push you'd see in California.
What this means for your editing:
Florida reef images often respond well to a straightforward warming correction — pulling the white balance toward the 6500–7500K range in post, adding modest red channel recovery, and boosting saturation selectively on orange and red tones (sea fans, sponges, coral polyps) without touching the blue and cyan channels, which are already well-represented.
The trap in Florida editing is oversaturation of the water column itself. The Keys' clear water photographs beautifully, and it's tempting to punch up the blues and cyans to make that water pop. Resist the urge — it quickly looks digital and false. Let the water stay natural and invest your saturation work in the subjects.
Florida's strong sunlight also means you'll deal with backscatter differently than in California. Bright ambient conditions make any suspended particles more visible in wide shots. This is a composition and lighting issue as much as a color correction one, but it affects your editing decisions — particularly how aggressively you work the dehaze slider, which can amplify backscatter if overused.
Hawaii: Volcanic Clarity and the Blue Abyss
Hawaiian waters, particularly on the leeward (west) sides of the islands, are among the clearest in the United States. Volcanic geology produces minimal river runoff and sediment load, and the open Pacific water column is genuinely blue in a way that Florida and California coastal water simply isn't.
This clarity is a gift for underwater photographers — and a subtle trap. Because the water is so clear and so deeply blue, color correction that works in more turbid water can overcorrect in Hawaii, stripping out the natural blue quality that makes the images look Hawaiian in the first place.
What this means for your editing:
In Hawaii, less is more. The water's inherent clarity means your images retain more natural color information at depth than they would in other locations. A lighter hand with the warming correction — maybe 5500–6500K rather than the 7000K+ you might use in Florida — often produces more accurate and visually pleasing results.
Hawaii's volcanic rock and unique marine life (spinner dolphins, manta rays, endemic reef fish) are often dark or neutral in tone, which means your color correction work is primarily about recovering the warm tones of coral and fish coloration against a naturally blue background — not fighting a competing color cast in the water itself.
One unique consideration: Hawaiian dive sites often feature dramatic depth transitions, with shallow reef shelves dropping into very deep open water. That transition shows up in your images as a sudden shift from the lighter blue of the reef to the deep indigo of open water. It's beautiful, but it means your exposure and white balance reference point can change significantly within a single frame. Graduated filters in post can help manage this.
Building a Location-Aware Editing Workflow
The simplest version of this advice is: stop using a universal preset and start building location-specific starting points. After your first dive in a new location, spend time getting one image right — really right, with accurate colors and natural-looking water — and save that correction as a preset or a reference. Apply it to the rest of the shoot as a starting point, then fine-tune from there.
Bring a white balance reference tool on every trip. The few seconds it takes to shoot a gray card or white balance slate at depth will compress your editing time significantly and produce more consistent results than guessing in post.
And finally: trust your eyes over your presets. The goal of underwater color correction isn't to make every image look like a stock photo from the Maldives. It's to accurately represent what you actually saw — which, if you were diving in a California kelp forest or a Hawaiian lava field, is something genuinely different and worth getting right.